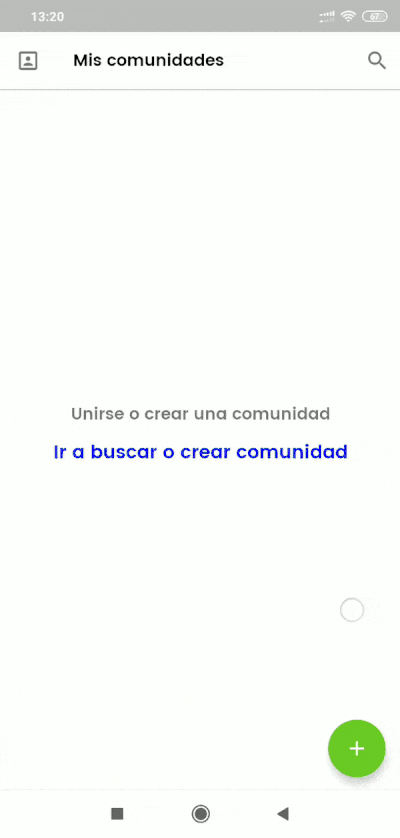
To create a community from the app we will follow the following steps:
- From the initial screen in My Communities, press the upper right user button and in the side menu click on Create Community.
- Enter the Name of the community. This is the name by which it will be known and displayed in the search results of communities.
- Click on the image above to select the Image of your community. You can select the image you want from the device.
- Optionally enter a Community Description.
- Indicate the Type of Community. Your community can be of the following types:
- Public The community is visible by users and can be freely joined. This is the most recommended option, since the most common is that you have a public communication or customer service channel that can be accessed by any user. And if you want protected content to exist, you can do so by configuring moderate or private groups.
- Moderate The community requires prior approval from administrators to join it. It is useful for club or association type communities where members must be previously validated, but once they are within the community they can already access all their content. If this is not your case, we recommend that you mark the community as public.
- Private. This type of community makes it totally private, so your users cannot join or request access to the community. In order to add users, you can only do so through the option Invite users to the community. This type of community is appropriate for restricted groups of users who want to provide additional security and confidentiality to the information.
- Indicate if you want the List of community members to be public or not. By default this option is enabled. If you mark it, other users will be able to see the list of community members, in the community information screen. If you deactivate it, only users who are Community Administrators can access this option. Check this option if you want privacy between users at the community level. Do not worry, when you later create a group you can make the list of members of the public group for the users of that group.
- Indicate whether you want the List of community administrators to be public or not. By default this option is enabled. If you mark them as public, the other users will be able to see on the community information screen who the administrators are and will be able to contact them after accessing their profile through a private chat. If you don’t mark it, this contact information will not appear, but you can create support groups to enable a channel for users in your community to contact you.
- Indicate if you want to allow private messages or not. By default this option is enabled. If you mark it, users can send private messages to other users. They can do so by accessing a user’s profile and sending a message. If you deactivate it, private chats will be disabled, but you can define a white list of users that will be able to send private communications to users. This is useful if you want to send personalized communications to specific users, but you want them to be unidirectional and therefore you don’t want them to respond to them. Here is more information on how to enable or disable private chats for your community.